
Best Practices to Get the Most Out of ClassKite

ClassKite works best once a few habits become routine. The tools — PDF annotation, a smart board, AI-drafted practice and live insight — are only as good as the teaching around them. Here are eight habits that get the most out of ClassKite, each with the practical "how" and a quick example. None of it costs extra hours; most of it saves them. Pick two or three to start, then build from there.
1. Prepare clean, focused materials
Cluttered slides scatter attention; clean ones direct it. ClassKite renders your uploads exactly as printed, so what you prepare is what students see. How: upload a PDF, trim it to the pages you need, and let continuous scroll handle the rest rather than cramming everything onto one page. Keep one idea per page so your live annotations have room to breathe.
Example: instead of a dense ten-page worksheet, upload the three pages covering today's grammar point and annotate those live.
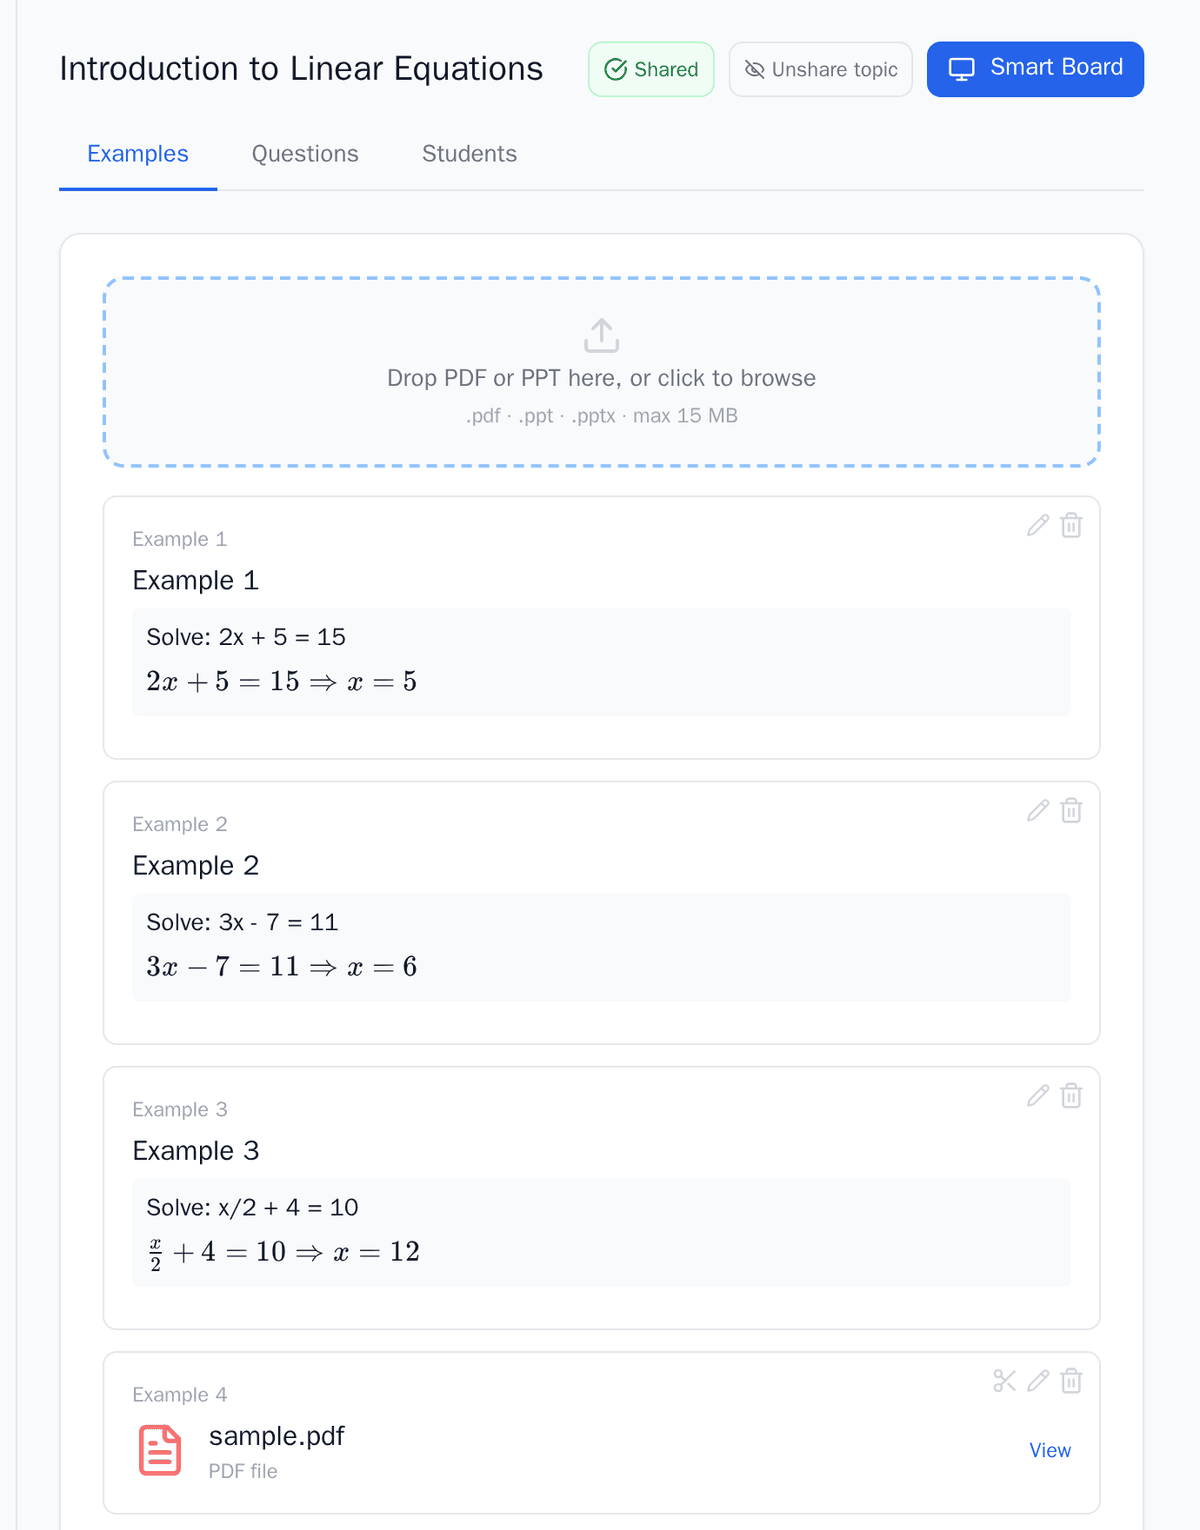
See PDF annotation and our guide to turning a PDF into digital practice.
2. Set short, focused practice
Short sets get finished, marked and acted on within the lesson; long ones drift into homework and lose the teaching moment. How: use the AI question generator — give it a topic, a count and a difficulty. It drafts multiple-choice or fill-in-the-blank questions (word or number, with LaTeX for maths), but you review and edit every one before it goes out; nothing is auto-assigned. Aim for a handful of questions on a single objective.
Example: after teaching equivalent fractions, assign six targeted questions rather than a thirty-item mixed review.
3. Review student answers regularly
Frequent, low-stakes checking tells you what landed while you can still reteach it. How: run live practice on students' own devices. They get instant right/wrong feedback and points; you watch responses come in. Make a habit of a quick check at a natural break rather than waiting until the end.
Example: a two-minute exit check after a worked example confirms whether to move on or revisit it.
4. Use reports weekly
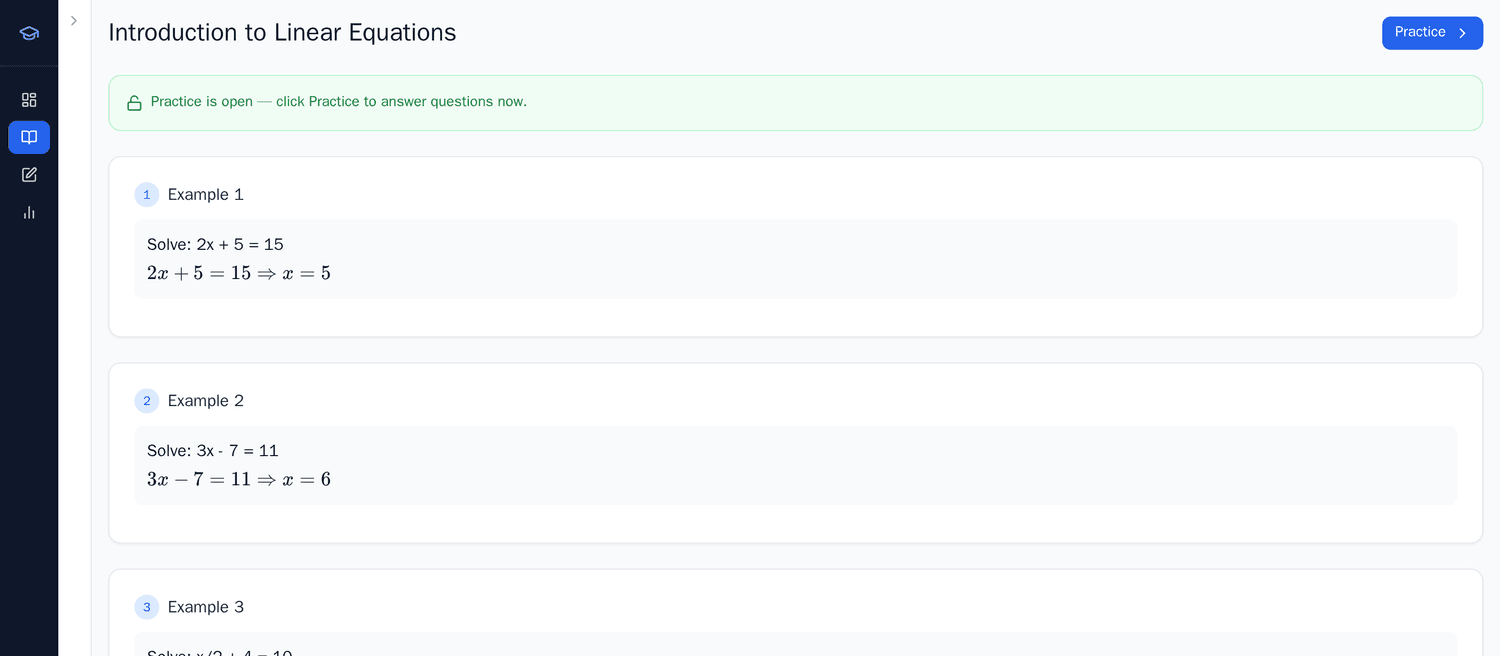
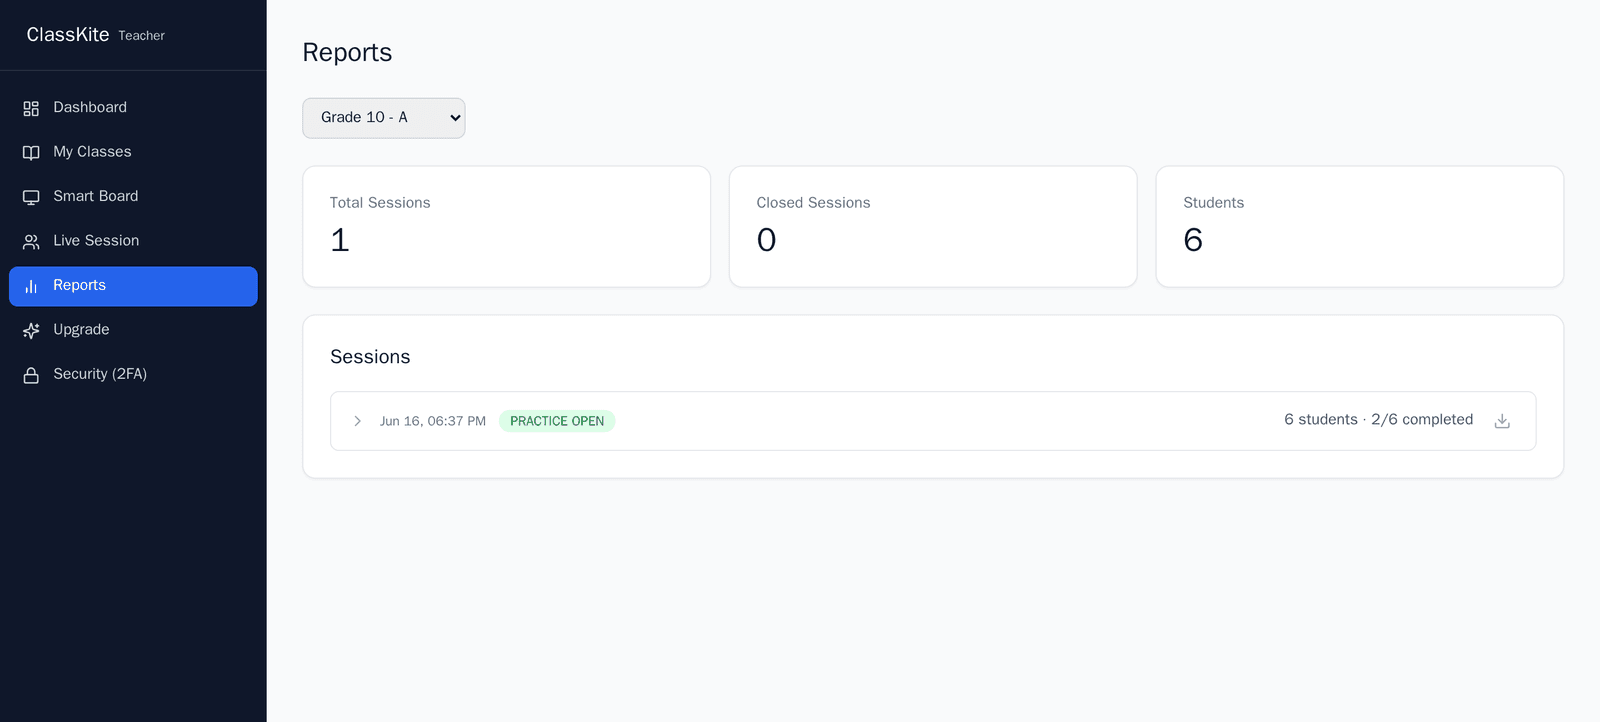
A weekly look at reports (on Plus and School plans) turns scattered impressions into evidence. How: check completion, average and first-try accuracy, then drop into per-question results to find the items most students missed — those are your reteaching targets. The sessions log and score trend show whether things are improving; export to CSV if you keep records elsewhere.
Example: per-question data shows half the class missed the same vocabulary item, so you open next lesson with it.
More in how to reduce marking time.
5. Organise your classes clearly
Tidy classes make everything else faster to find. How: name classes consistently, keep each group's materials and practice together, and share class codes so students join free without accounts. For schools, an admin console with bulk Excel import, role-based access and a single invoice (per fifteen seats) keeps larger setups manageable.
Example: naming classes "Y8 Set 2 — Science" rather than "Science 2" makes the right group obvious at a glance.
See ClassKite for schools and pricing.
6. Use annotations purposefully
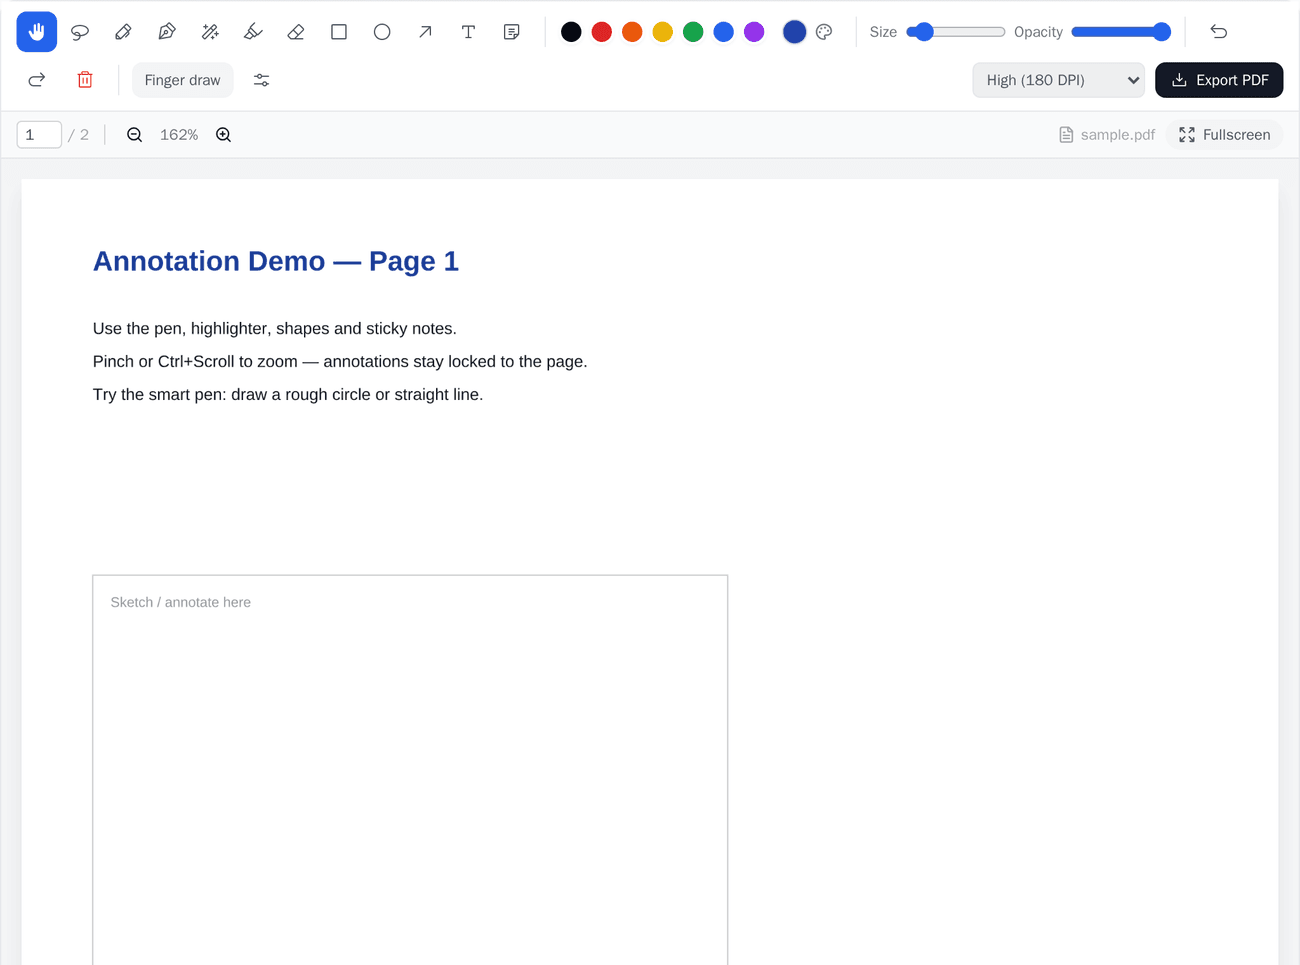
Annotation makes thinking visible — it isn't decoration. How: use the highlighter to mark the key step in a method, the pen or calligraphy ink (for a natural handwritten feel) to model working, and sticky notes or text to flag a common error. Shapes help you box a structure or connect ideas. On the smart board, present full-screen and annotate live, with follow-me page sync keeping everyone together. Resist colouring everything in — restraint is what makes the important mark stand out.
Example: highlight only the line where a quadratic was factorised, so attention lands on the move that matters.
7. Combine live teaching with independent practice
The strongest lessons alternate between teacher modelling and students doing. How: teach a concept on the smart board, then push a question or short practice mid-lesson without leaving the board. Switch between teacher-paced and self-paced practice depending on whether you want the class together or working at their own speed. Live stroke streaming means students see your working as it happens.
Example: model one problem, push two similar questions for students to try, then resume teaching with the answers in front of you.
See how teachers use ClassKite step by step.
8. Catch weak students early
The earlier you spot a struggling student, the smaller the intervention. How: use the Live Student Grid (Plus and School plans) to watch status, progress and score in real time. It surfaces a "struggling" signal when a student answers the same item wrong repeatedly, shows one-tap help flags and presence, and lets you open a student's attempt history to see where they went wrong.
Example: a help flag and three wrong attempts on one question tell you exactly whose shoulder to look over next.
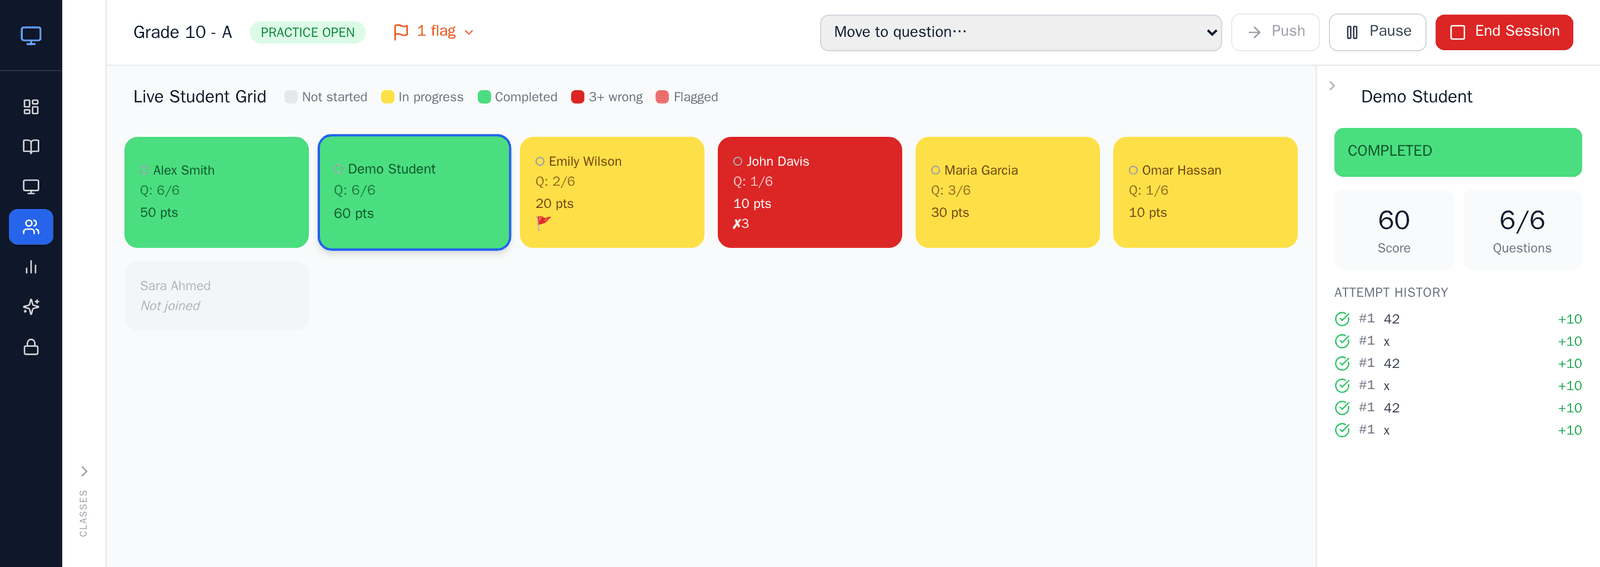
More in tracking student progress in live practice.
In the classroom
Here's how the habits combine in one lesson. You upload three clean pages of a reading passage (habit 1) and teach the main idea on the smart board, highlighting only the sentences that carry the argument (habit 6). After modelling one question, you push a short five-item practice mid-lesson (habits 2 and 7). As answers arrive, the Live Student Grid flags two students struggling on inference, and you check in with them straight away (habit 8). At week's end, you open the report, see inference is the weakest question type across the class, and plan a follow-up (habit 4) — all within your existing, clearly named class (habit 5).
Frequently asked questions
How often should I look at reports?
Weekly suits most teachers: often enough to act on patterns while they're fresh, rarely enough to avoid reacting to noise. Check the headline figures first, then drill into per-question results to find what to reteach. Reports are available on Plus and School plans.
How long should a practice be?
Short enough to finish and review inside the lesson. A handful of questions on one objective beats a long mixed set, because you can act on the results immediately rather than carrying them into the next day.
How do I spot struggling students early?
Use the Live Student Grid during practice. Watch for the repeated-wrong "struggling" signal, help flags and stalled progress, then open a student's attempt history to see exactly where they came unstuck. This feature is on Plus and School plans.
Get started
Pick two habits from this list and try them in your next lesson. Sign in to ClassKite to set up your first class — students join free with a class code. If you have questions, see ClassKite for teachers, our approach to trust and privacy, or get in touch.
Written by the ClassKite team and reviewed by a practising teacher.